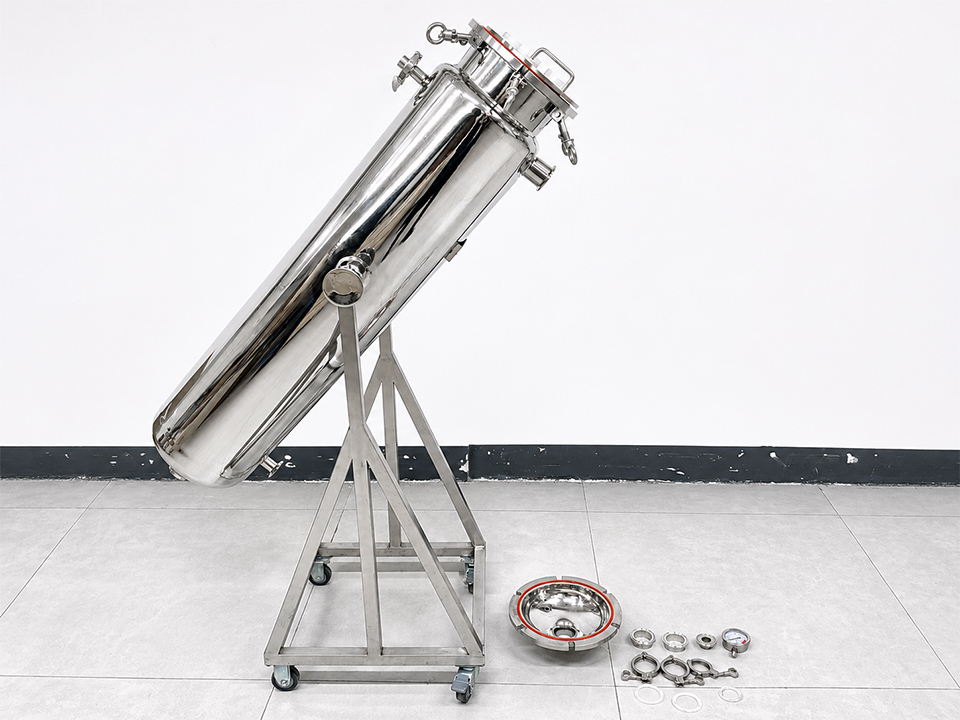
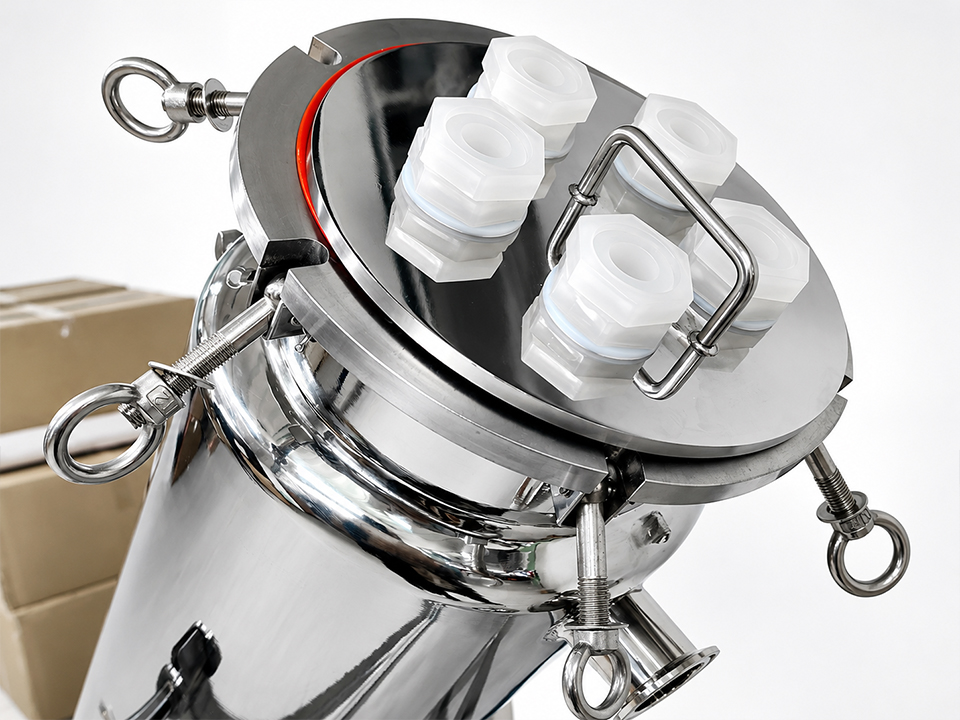
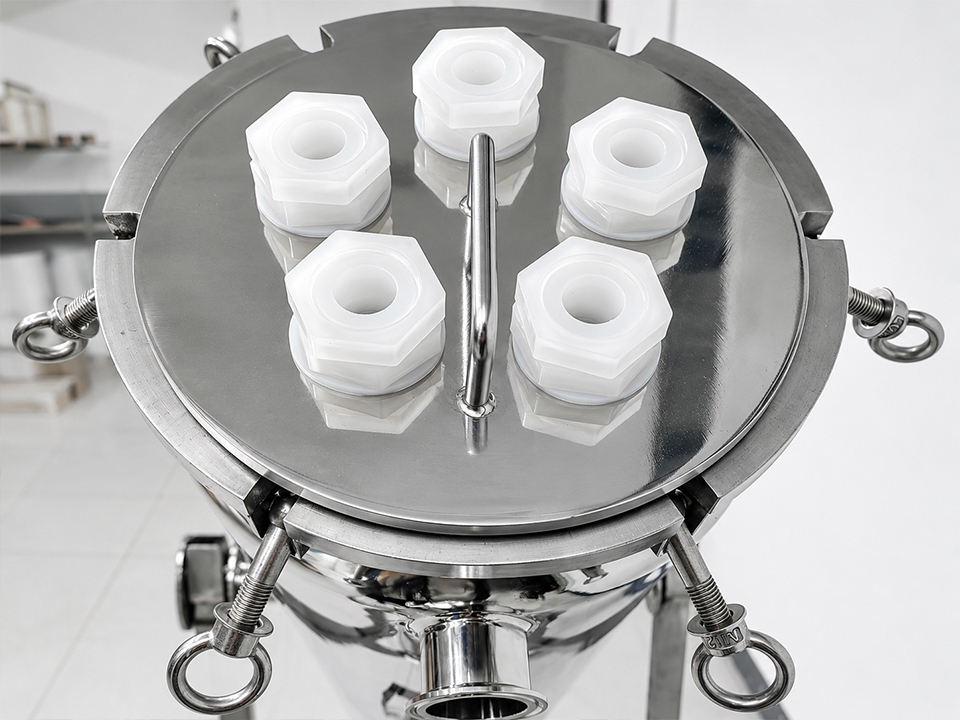
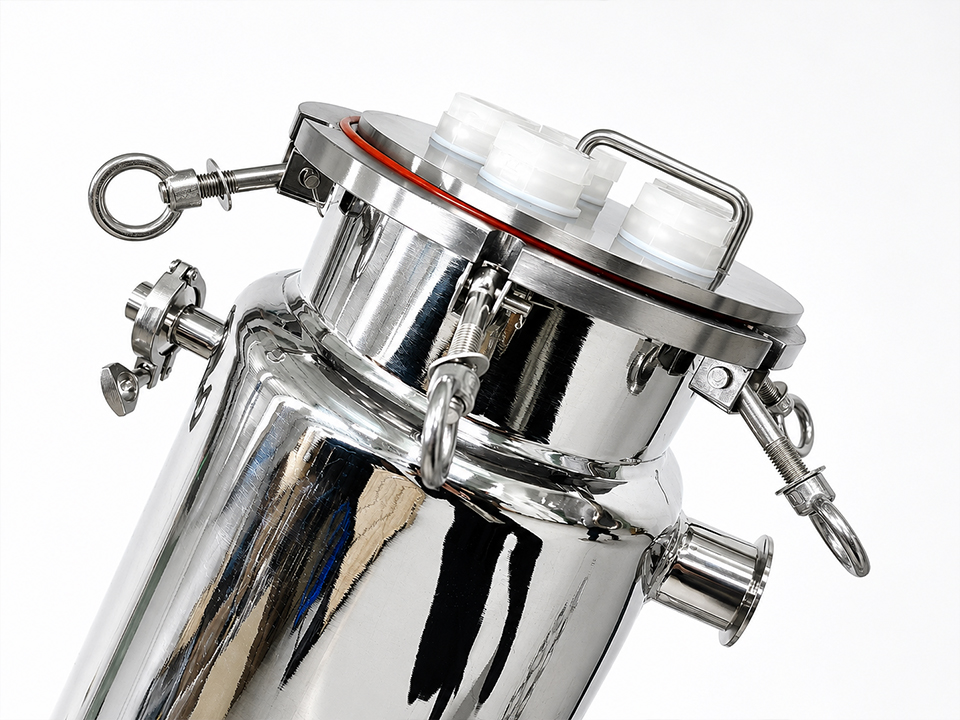
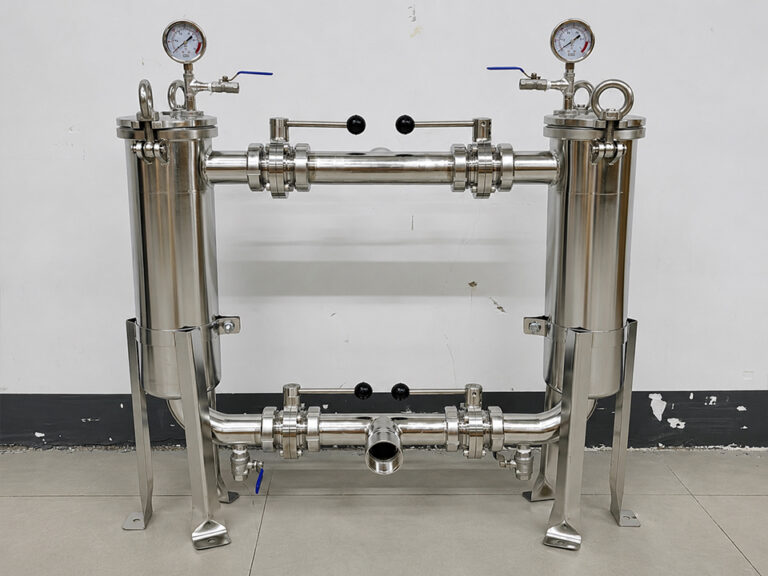
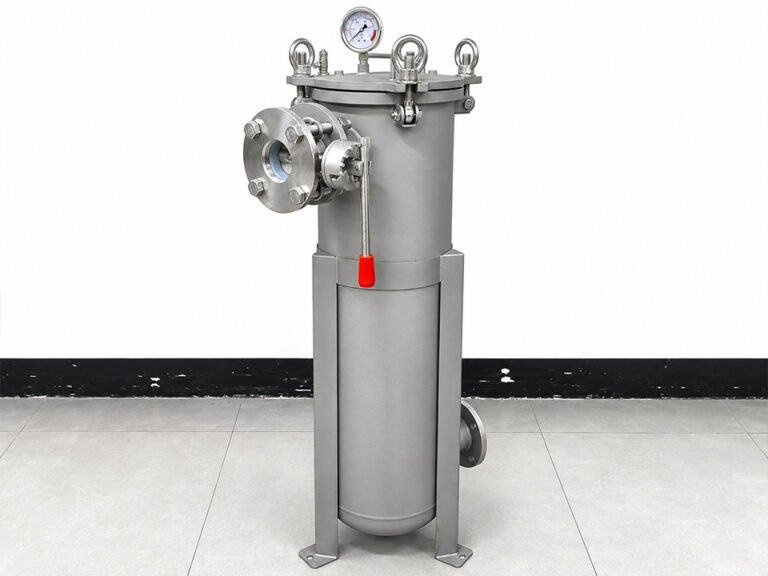
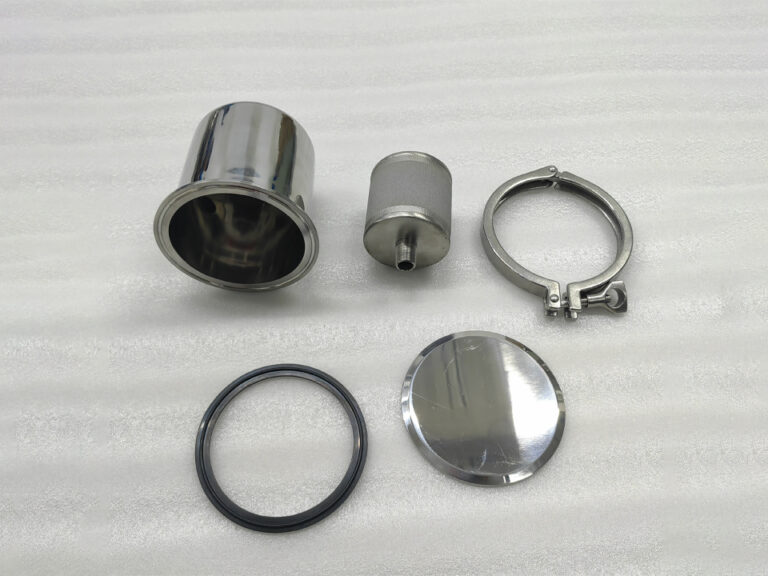
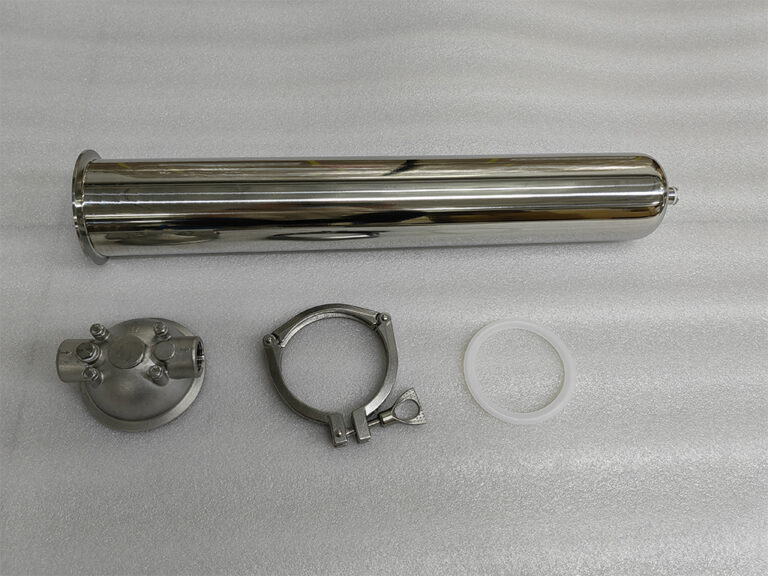
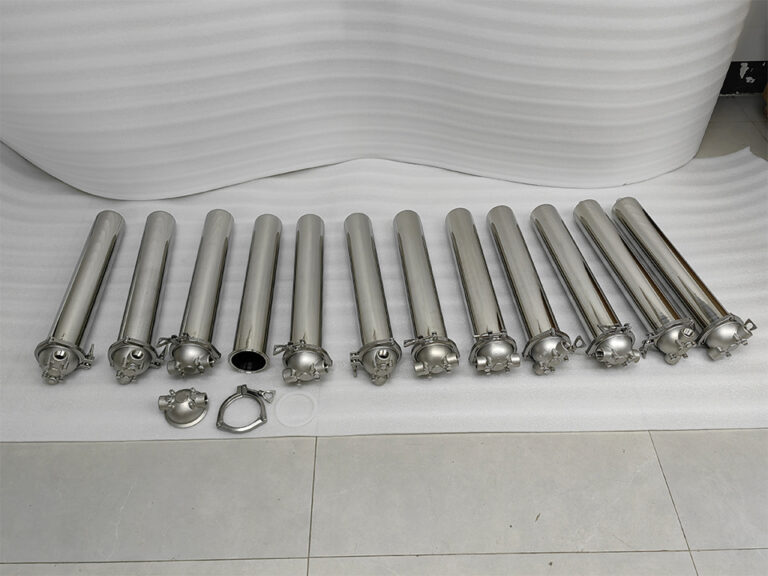
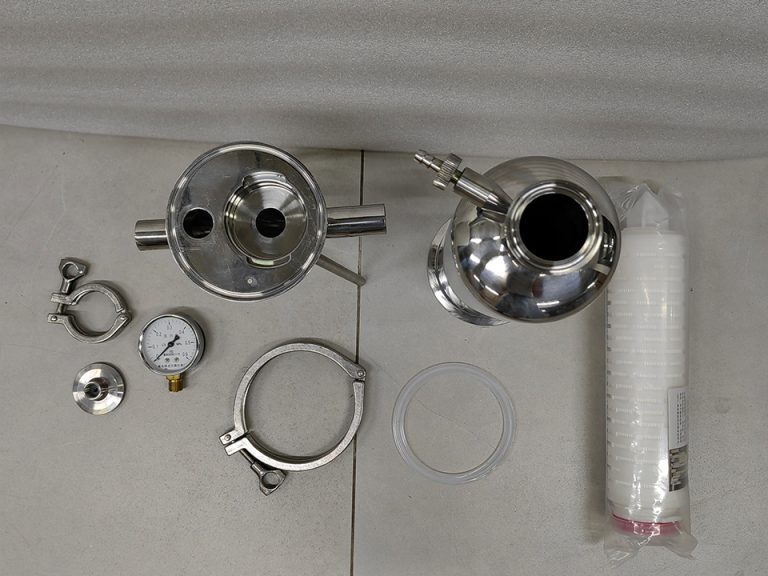
Guangzhou Lvyuan Su Arıtma Equipment Co, Ltd, 2009 yılında kurulan ve paslanmaz çelik filtre muhafazaları, paslanmaz çelik steril su tankları, filtre elemanları, filtre torbaları, ultra polimer malzemeler ve sinterlenmiş filtre ürünleri tasarlayan ve üreten endüstriyel bir filtre üreticisidir. Alıcılar OEM/ODM desteği, ISO9001 kalite kontrolü ve çok ülkeli sertifikalar için Lvyuan'ı seçmektedir.
İthal Filtre Muhafazaları için Gelen Mal Kontrol Listesi
An imported filter housing can look perfect in the crate and still fail at commissioning. The usual causes are not dramatic: a flange drilled to the wrong standard, a sealing seat that does not match the cartridge, a certificate that belongs to a different heat of steel, or a proof-test record nobody asked for. Once the unit is bolted into a line, each of these becomes a delay, a rework bill, or a leak. This checklist is for procurement, quality, and plant engineering teams who receive stainless steel or plastic filter housings from overseas suppliers. It covers what to check in what order, which defects only paperwork can reveal, which only a tape measure can reveal, and how to decide whether to accept, hold, or reject a lot.
What Should an Incoming Inspection of Imported Filter Housings Cover?
A complete incoming inspection of a filter housing covers six layers: documents, packaging and transit damage, identification against the purchase order, weld and surface condition, dimensions and element interface, and pressure or leak evidence. Each layer catches a different class of defect, so skipping one leaves a blind spot.
Run them in the sequence below. Documents and packaging come first because they decide whether you can legitimately accept delivery. Dimensional and pressure checks come last because they take the most time and should only be spent on units that passed the earlier gates.
Inspection layer
What you verify
Evidence or tool
Defects it typically catches
Belgeler
Certificates, test records, conformity documents, manual
PO, drawing, certificate pack
Wrong material traceability, missing proof-test record, wrong conformity marking
Packaging and transit
Crate, flange protection, shock or moisture damage
Photos, carrier delivery receipt
Dented shells, bent davit arms, damaged flange faces, water ingress
Kimlik Tespiti
Nameplate, model, pressure and temperature ratings, configuration
PO line items vs. nameplate
Wrong model, wrong cartridge count, wrong closure type or seal material
Flange or thread mismatch, element does not seat or seal
Pressure and leak evidence
Supplier test record; optional agreed leak test
Test certificate, calibrated gauge
Leaking closures, gasket or port problems
Step 1: Check the Documents Before You Open the Crate
Documents are the only way to confirm properties you cannot see, such as which grade of stainless steel was used and whether the vessel was pressure tested. Compare every document with the purchase order and approved drawing, not with the supplier’s catalog.
Surface treatment records. If the PO calls for pickling, passivation, or a specified internal finish, request the supplier’s record of what was done.
Operating and maintenance instructions in the language you need.
If a required document is missing, put the lot on hold before anyone installs it. Suppliers respond faster before the housing is in service than after.
Step 2: Inspect Packaging and Transit Damage on Arrival
Transit damage claims are usually time-limited. Photograph the crate before it is opened, note visible damage on the carrier’s delivery receipt, and check your Incoterms and insurance terms for claim deadlines. Deadlines vary by contract and carrier, so confirm them.
Şunlara dikkat edin:
Crate punctures, crushed corners, triggered tilt or shock indicators, and moisture marks.
Protected flange faces. Gouges on a raised face or O-ring groove will not heal.
Bent or loosened davit arms, hinge bolts, swing bolts, and clamp hardware.
Plugged or capped ports, vents, and drains, so debris and moisture stayed out.
Loose parts checked against the packing list: gaskets, spare O-rings, cartridge seats, hold-down springs, fasteners.
Step 3: Verify the Nameplate and Configuration Against the PO
Housings are built in many configurations, so identification errors are easy to make. Check the nameplate and the physical unit against each PO line item.
Model, serial number, and year of manufacture.
Maximum allowable pressure and temperature on the nameplate against the PO.
Body and head material, and the wetted material of any internals.
Cartridge or bag capacity and orientation.
Closure type: swing bolt, clamp, flange, or screw cap.
Inlet and outlet size, position, and connection type.
Drain, vent, and gauge port count and size.
O-ring or gasket material. EPDM, NBR, FKM, and silicone are not interchangeable across fluids, so compare the seal to the process medium, not just to the PO text.
Support legs, lifting lugs, or a davit arm where specified. A missing davit arm on a large multi-cartridge unit is worth flagging.
Step 4: Inspect Welds, Surfaces, and Internal Cleanliness
Visual inspection of a fabricated housing needs good light, a clean unit, and a defined standard. If your PO does not reference a weld acceptance standard or internal finish requirement, say so in the inspection report. The lack of a standard is a specification gap to close before the next order, not a reason to invent acceptance limits at the dock.
Check the exterior and interior for:
Continuous, uniform welds without cracks, pinholes, undercut, or heavy spatter.
Heat tint (blue or straw-colored oxide) around welds that was not removed. Heavy tint can reduce corrosion resistance locally in stainless steel.
Rust-colored spots or streaks on stainless surfaces. These often point to iron contamination from carbon steel tools or grinding dust rather than to the wrong grade, and they signal that pickling or passivation was skipped or incomplete. Compare against the surface treatment record from Step 1.
Rough or sharp internal edges, weld beads that interfere with the cartridge seat, and trapped debris.
Polishing or surface finish consistent with the PO. If a hygienic finish was specified, the PO should define the measurable requirement. Never judge “sanitary” by eye.
A borescope helps with deep housing bodies.
Step 5: Check Dimensions and Element Interface Fit
A housing can pass every visual and certificate check and still not accept the element you bought for it. Use the tolerances on your approved drawing. If the drawing has none, record that as an RFQ gap.
Connections. Verify flange standard, pressure class, bolt circle, and hole count, or thread type, or clamp size, depending on the connection. Flange standards and thread forms from different regions look similar but do not mate. An illustrative scenario, not a real customer case: a PO calls for “2-inch connections” without naming the thread form, the supplier ships the form it normally builds, and the mismatch surfaces only when pipe fitters start installation. A one-line standard on the PO prevents it.
Element seat and sealing. Fit a sample element into the housing before accepting the lot. Check that it seats fully, the seal compresses as designed, the hold-down closes without forcing, and the closure leaves no gap. This single test catches seat-plate mismatches that drawings alone hide.
Element interface style matters most when housings are paired with specialty elements. For instance, the paslanmaz çelik sinterlenmiş toz filtre kartuşu is described with stainless steel ferrule-style end connections, while the sinterlenmiş PTFE gözenekli filtre kartuşu is listed with interface options including M20, M30, 222, 226, flush, and platen configurations. A housing seat built for one of these will not accept another. Likewise, UHMW-PE sintered filter cartridge tubes are offered in diameters of 10 to 120 mm with customizable lengths and interfaces, so overall element length against internal housing depth is a check, not an assumption. For replacement or OEM equipment, a UHMW-PE sintered vacuum feeder filter cartridge with threaded or molded end configurations needs the same fit verification against the receiving port or holder.
Is signed by an identifiable inspection representative.
Shows a pressure that is consistent with the nameplate rating and the standard cited in the PO.
If you run your own leak check, agree on the pressure, medium, hold time, and acceptance criterion with the supplier and your engineer first, use a calibrated gauge, and stay within the rating. Treat any unplanned overpressure as a safety risk and a potential warranty dispute.
Why a Rated Housing Does Not Guarantee a Rated System
A common assumption is that the housing’s nameplate rating sets the safe operating limit of the assembly. In practice, the weakest rated component sets the limit, and that component is often the element, seal, or accessory rather than the shell.
Consider element materials. The sinterlenmiş HDPE gözenekli filtre tüpü page lists temperatures up to 80 °C and pressure resistance up to 0.5 MPa for that supplied range. A stainless steel housing with a much higher shell rating does not extend those limits. Equally, an elastomer seat or O-ring can be the temperature or chemical-compatibility constraint even when the vessel itself is not.
Add a “system rating” line to your checklist: nameplate, element, seal, and accessory ratings (gauges, valves, vents), with the lowest value governing. Record the process pressure, temperature, medium, and cleaning chemicals beside it so the comparison is explicit.
The opposite assumption is just as risky: that a complete certificate pack makes physical inspection redundant. Certificates describe material and test events. They cannot tell you whether the crate was dropped, whether the flange was drilled to the wrong pattern, or whether the element seats. Documents and hands-on checks catch different failures, and a reliable process uses both.
How Many Units Should You Inspect?
Inspect every unit for high-value, low-volume housings such as large stainless steel vessels, where one defect is costly and the lot is small. For larger lots of small or repeatable housings, use a statistical sampling plan rather than a fixed percentage. ISO 2859-1 specifies AQL-indexed sampling schemes for lot-by-lot inspection by attributes. The AQL value and the inspection level are commercial decisions that you and the supplier should agree on in the contract, since the standard indexes plans by those choices rather than selecting them for you.
Classify defects before inspection starts, so the decision rule is not argued on the dock:
Defect class
Examples
Typical disposition
Critical
Cracked weld, leaking closure, wrong pressure rating, missing proof-test record on a pressure-rated unit
Reject or hold the whole lot until the supplier responds
Major
Wrong connection standard, element does not seat, wrong seal material, material certificate lacks traceability
Hold, quarantine, and request supplier corrective action
Minor
Cosmetic scratches away from sealing faces, label misalignment, light surface marks
Accept with record, or negotiate a concession
Porous Internals and OEM Components Need Their Own Acceptance Criteria
Some housing programs also include porous components as separate line items, such as vents, flow-restriction discs, or distribution plates. These need a different inspection logic from a vessel, because the key risks are pore rating, porosity consistency, dimensions, and function rather than weld quality.
A gözenekli sinterlenmiş bronz filtre diski, for example, is listed for use in air, oil, and flow-control applications with a stated 8 to 150 μm filtration range and diameters from 5 to 250 mm, so incoming checks for such parts focus on diameter, thickness, and rated micron value against the PO. A sintered porous plastic plate is a flat sheet that is cut to size for filtration, aeration, and fluid distribution, so flatness, cut dimensions, and edge condition matter. Functional components need functional tests: a tıbbi sinterlenmiş PE kendinden sızdırmaz emme haznesi filtresi is meant to pass air when dry and close the airflow path on contact with liquid, so visual inspection alone cannot confirm that it performs. Agree the test method, sample size, and records with the supplier before the first shipment.
What to Do When a Unit or Lot Fails Inspection
Stop and quarantine. Tag the unit, keep it uninstalled, and do not repair or rework it without written supplier authorization.
Document. Record serial numbers, photos with a scale reference, measured values against the drawing, and the PO clause that was not met.
Notify the supplier and carrier quickly. Claims depend on timely notice, so check the contract terms.
Request corrective action. Ask for the cause and the process change, not just a replacement.
Update the next PO to close the specification gap that let the defect through.
What Should Buyers Specify Before Ordering the Next Batch?
Incoming inspection is only as strong as the purchase documents behind it. Before you place the next order or request a quotation, include:
Drawing with tolerances and the flange or thread standard for each connection.
Material and certificate type, for example the EN 10204 type for pressure-bearing parts, plus the heat-number traceability you expect.
Pressure, temperature, medium, and cleaning chemicals, so the supplier can match seals and materials.
Surface finish and treatment requirements, with the record you expect to receive.
Test records required with each shipment, and the applicable code or directive for your market.
Element compatibility. Name the element model, interface type, and length the housing must accept, and ask the supplier to confirm fit.
Ambalajlama gereklilikleri for flange protection, internal bracing, and moisture control.
Inspection rights, such as pre-shipment inspection or photo and measurement reports, and the sampling plan and AQL you will use on arrival.
When the specification is complete, the incoming inspection becomes a confirmation exercise instead of a discovery exercise.
Sıkça Sorulan Sorular
What is the most important check when receiving an imported filter housing?
Compare the unit and its documents with the purchase order and approved drawing. Most costly failures come from specification mismatches such as connection standard, seal material, or element seat, not from visible damage.
Do I need to hydrostatically test an imported filter housing on arrival?
Usually not. Review the supplier’s proof-test record for your serial number instead. If you want your own leak check, agree on pressure, medium, and acceptance criteria with the supplier and your engineer first, and stay within the nameplate rating.
What is the difference between an EN 10204 3.1 and 2.2 certificate?
A 3.1 certificate reports test results for the lot supplied and is validated by the manufacturer’s independent inspection representative. A 2.2 report gives results from general production, not necessarily the delivered batch, so it is weaker for traceability.
Does an imported filter housing always need a CE mark?
No. In the EU, the Pressure Equipment Directive applies above 0.5 bar maximum allowable pressure, but only equipment above the category thresholds carries the PED CE marking. Smaller units follow sound engineering practice. Confirm local rules for your market.
How many filter housings should I inspect from a shipment?
Inspect every unit when the lot is small or each housing is high-value. For larger lots of repeatable units, use a sampling plan such as ISO 2859-1, with the AQL and inspection level agreed in the contract.
How do I check whether a filter element will fit an imported housing?
Fit a sample element before accepting the lot. Confirm that it seats fully, the seal compresses as designed, the closure shuts without force, and the length fits the internal depth. Check interface type against the element specification.
What should I do if I find damage after the carrier has left?
Photograph the damage, quarantine the unit, and notify the supplier and carrier immediately in writing. Claim rights depend on your contract, Incoterms, and insurance, so check the deadlines instead of assuming them.